The climbing rope is one of the most important, if oft neglected pieces of climbing gear. It is a key item in ensuring a safe, fun climbing experience. You tie into it, belay, rappel, anchor, and sleep with it. Yet too often, many climbers do not give it the respect it deserves.
After lying in the dirt, and getting dragged up routes, your climbing rope will accumulate quite a bit of dirt and wear. This can be mitigated by using a tarp, but a dirty rope is almost inevitable. As such, basic rope maintenance should include regular climbing rope cleaning. An important skill every climber should have is knowing how to clean a climbing rope.
Admittedly, I have not given my rope the respect it deserved. I owned my first rope for 2.5 years before I finally got off my lazy butt and cleaned it. And boy, was it time. After getting thrown around crags throughout the Southwest, my rope could barely be recognized.
When I bought it new, it was blue and white. Before I cleaned it, it was almost uniformly grey. When it gets to that point, you know that you have a problem. As they say, a clean rope is a safe rope, and I may have been pushing what constitutes a safe rope.
Eventually, I got tired of blackening my palms due to climbing with my dirty rope. It was my climbing partners, though, that really made me finally clean my rope. Their look of disgust at my soiled, neglected rope was embarrassing. I had been putting it off, but now was the time for a rope bath.
Bath Time!
Table of Contents
I decided to hand wash my rope in my bath tub. A cursory search online reveals that there are several methods in which to clean a climbing rope. It seems that the most popular method is to chuck it in the washer.
Unfortunately, I only have access to a top loading washer. A top loader is not recommended, as the rope can become tangled on the agitator, potentially damaging both the rope and the washer.
I decided to play it safe, and wash my rope by hand. The process is simple. You fill your tub with warm water, add your rope, soap, and let it soak. After several minutes, agitate it by hand. Drain the water, and repeat as many times as necessary. I decided to slightly modify the process by cleaning my rope in a plastic storage bin, placed in my bath tub to collect spillover.
For soap, I used a packet of Sterling Rope Wash. Sterling Rope Wash is made specifically for cleaning climbing ropes, though people frequently use common dish soap, and experience no issues.
Without further ado, here is a visual guide to cleaning your climbing rope!
Step 1: Rope Meets Tub
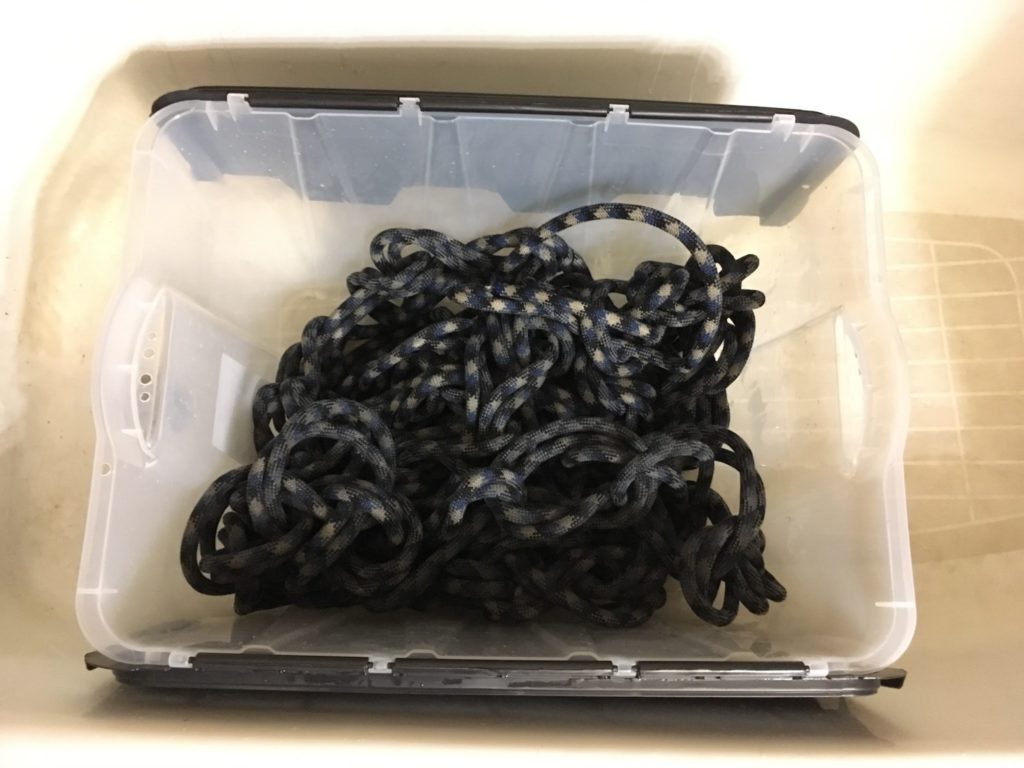
Place your rope in the wash basin of your choice. I recommend first daisy chaining your climbing rope. This will help to keep it from getting tangled, allowing a more uniform washing throughout.
Step 2: Just Add Water! (And Soap)
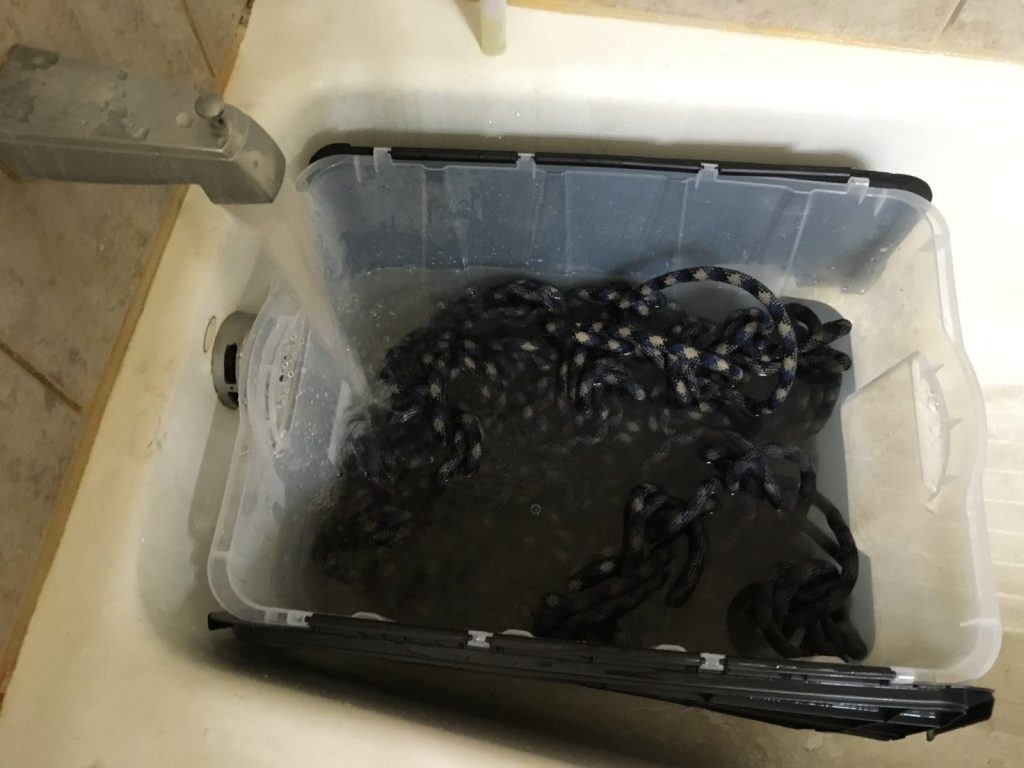
Fill your tub with warm, but not hot water. Add soap.
Step 3. Let it Soak
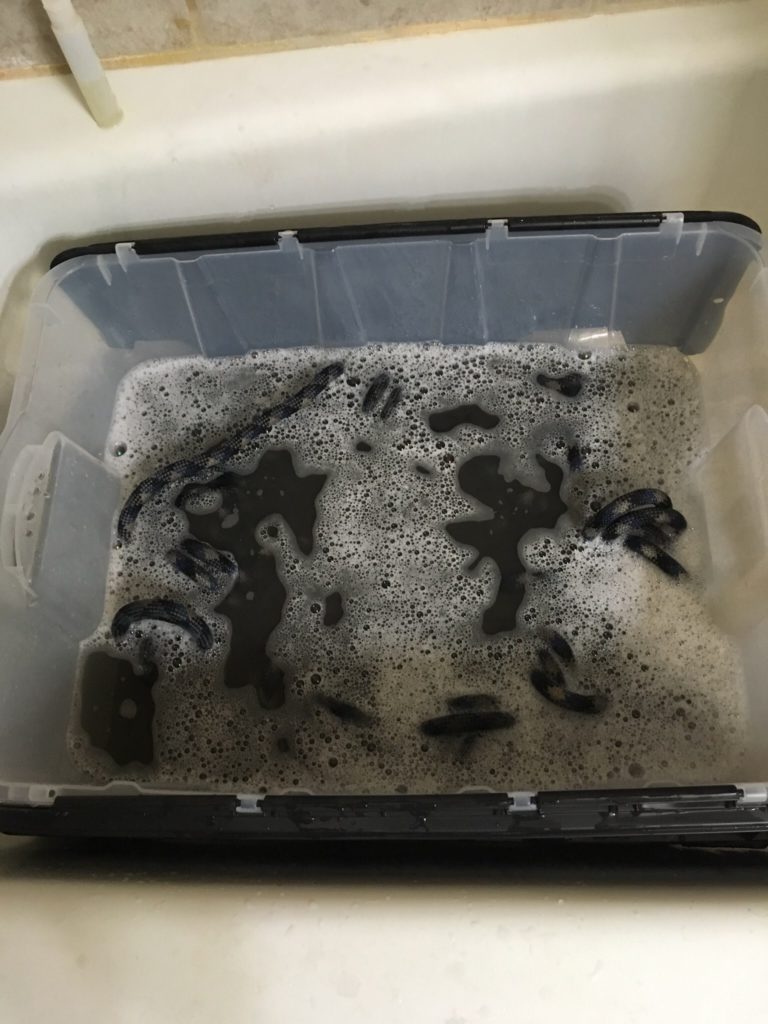
Let your rope soak for 5-10 minutes. This ensures that the soapy water will seep into every little crevasses, dissolving grease and oils.
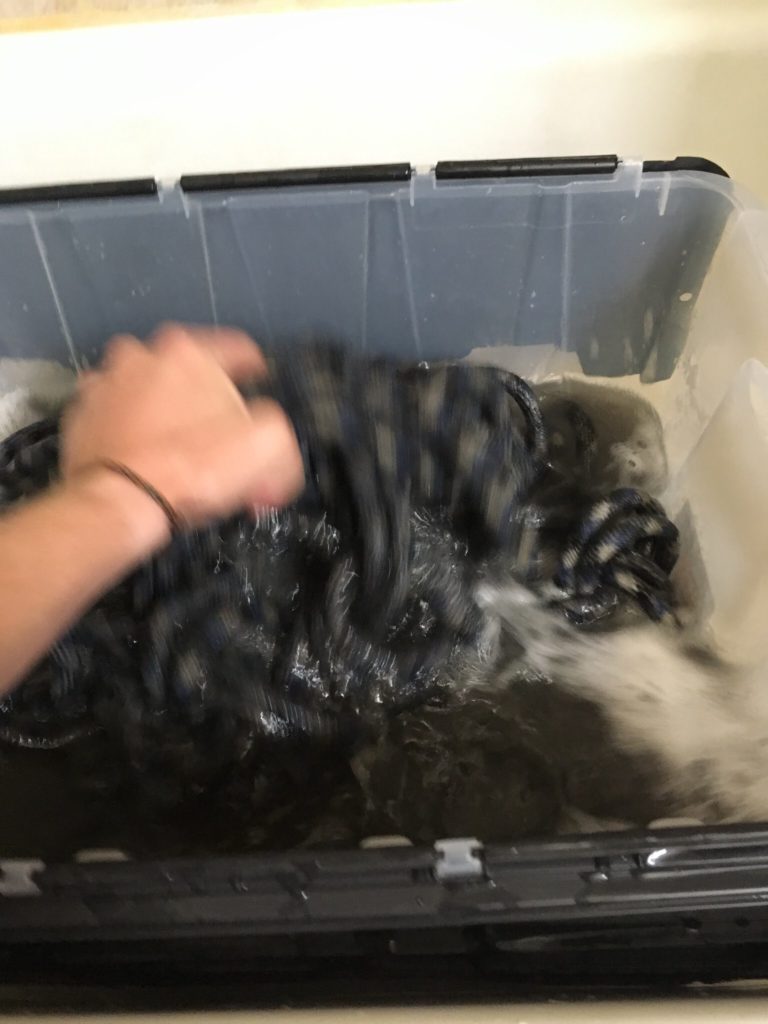
Step 4. Agitate!
Physically clean your rope by agitating it. Shake it, swish it, swirl it, dunk it, rub it. However you wish to clean your rope, just make sure that you are actually cleaning it.
Step 5. Drain it
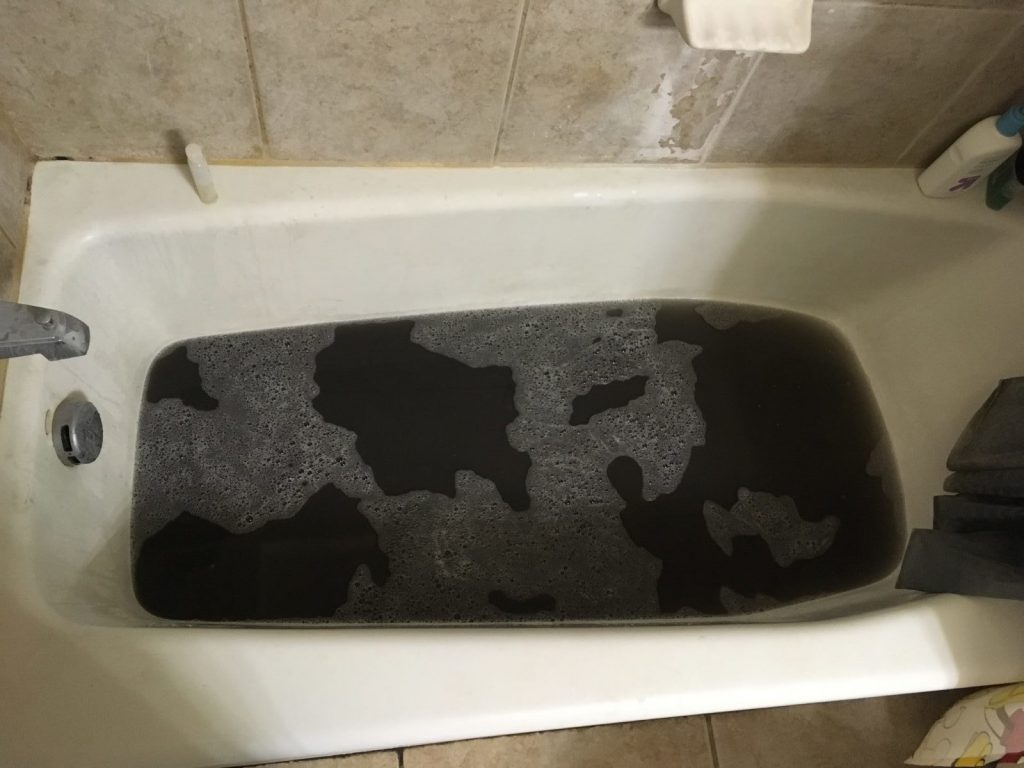
This is the gross part. The water that came off of my rope was inky black. Over two years of crud and neglect were now mixed into a disgusting soup. I should never have let my rope get this dirty. The satisfaction of seeing that filth go down the drain was immense.
Step 6. Repeat Until Satisfaction
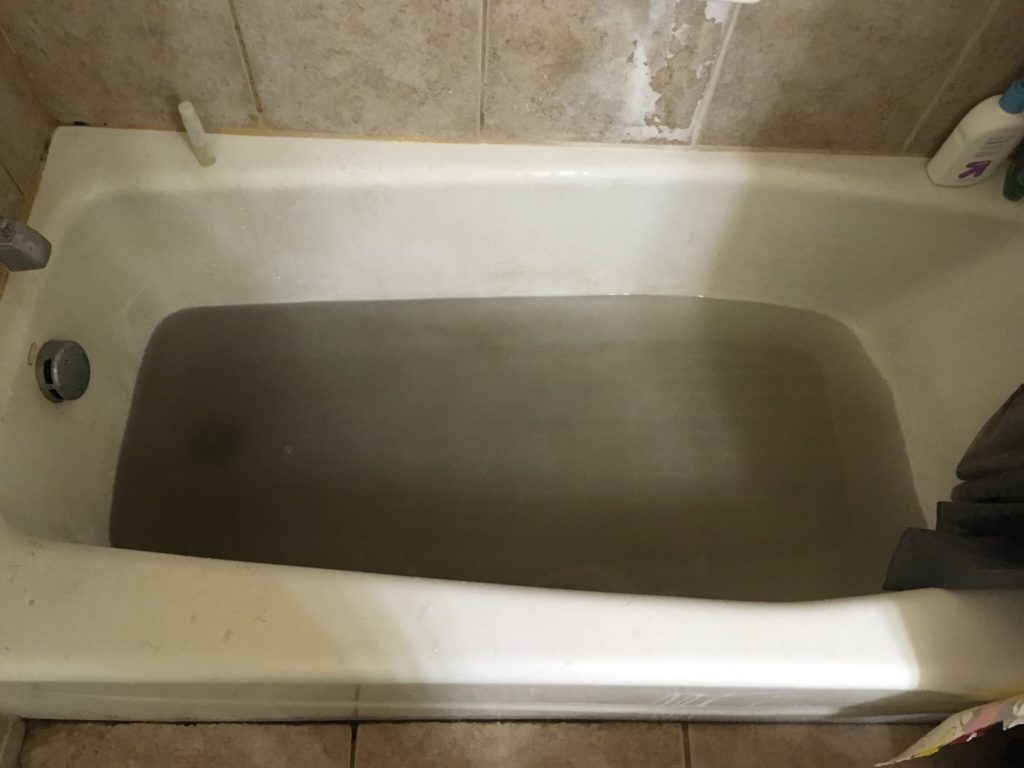
This process was repeated six or seven times before I felt satisfied. Each time, the color of the water progressed through lighter and lighter shades of grey. The final cycle did not leave the water crystal clear, but rather a vaguely cloudy murk. I was satisfied, as I did not expect to get my rope 100% clean.
The appearance of my rope did improve. The grayish black spots now looked white, and it no longer had a wormy, slimy feeling when handling it.
Step 7. Dry
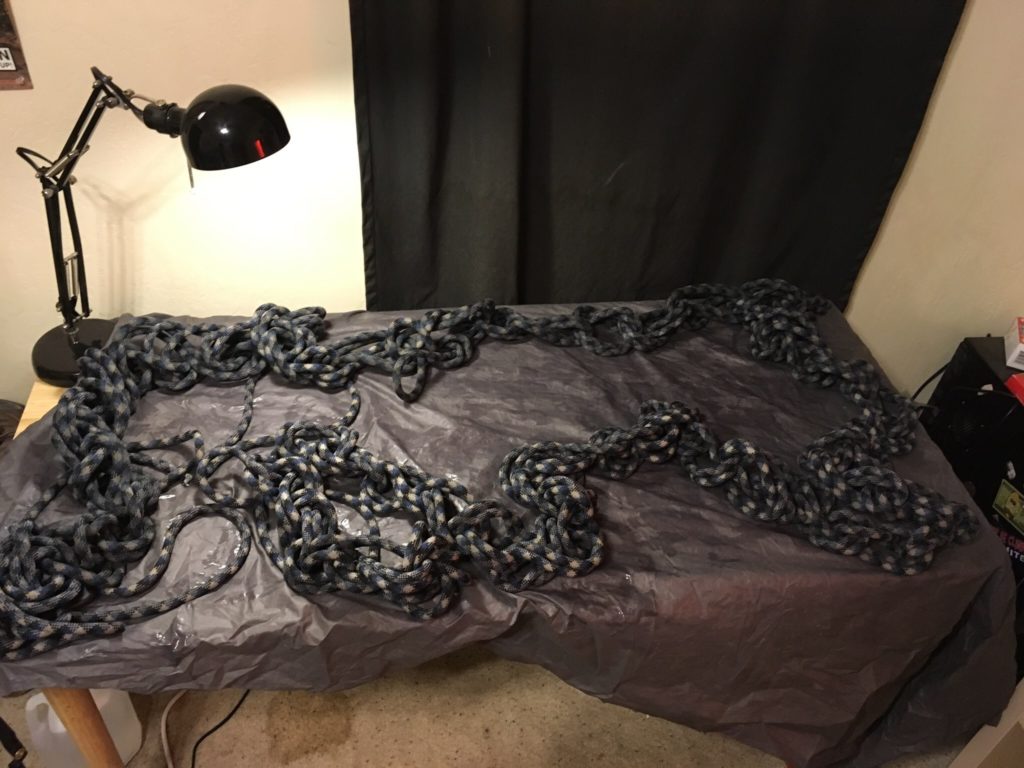
This is the easiest, albeit longest step. Keeping it daisy chained, lay your rope out in a cold, dry place. I put mine on top of my desk. Let it sit and dry. It took my 10.2mm, 60 meter rope two days to dry.
Drying times can vary depending on rope width and length, and your local climate. Use this as an opportunity to go bouldering, or maybe read a book or something. Just be patient, and you will soon have a dry, clean, and safe rope.
Conclusion
It is simple and easy to clean a climbing rope. Keep it clean by using a tarp. When it inevitably does become dirty, give it a good wash. This will keep it clean, and most importantly, safe. Washing your rope should be done frequently. Do not clean it after every crag session, but don’t wait years. Use your best judgement.
Thanks for tuning in. I hope that with this guide, more climbers can climb with safe, clean, climbing ropes. A rope free of dirt, sand, grease, and whatever else will be more fun to climb with, and keep you safer. If you have any questions, or suggestions to critique my cleaning technique, leave them in the comments.
For more climbing related articles and humor, visit our climbing page.
- The Best Campsites Around Big Bear California - February 26, 2021
- Hiking to the Hollywood Sign Via the Brush Canyon Trail - July 13, 2020
- Dirt Cheap Hiking and Backpacking Gear: The Most Affordable Gear on the Internet - July 4, 2020
